

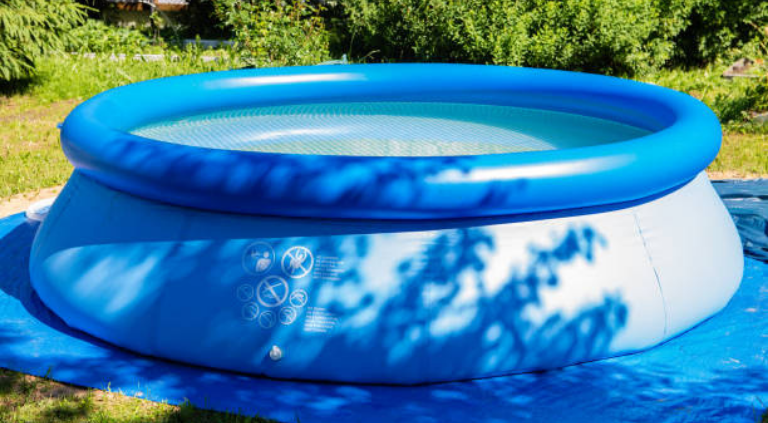
There is a simple, cheap and effective way to repair your above ground pool liner without having to sacrifice a drop of your freshly filled pool water.
Below you will find all the products you may need, as well as the steps to follow to get your pool looking and feeling good as new in no time without draining your entire pool.
Things to Consider
Pool Liner Color

Fortunately, pool patching methods don’t have much of an effect on the outer appearance of your swimming pool, but you may still be able to see the area if your water is very clear. If this is a concern, it is worth being on the lookout for patches that resemble your vinyl pool liner color. Both clear vinyl and blue vinyl patches are quite common.
Leak Size
Certain patching products are more ideal for larger tears than others. For instance, precut patches are ideal for small punctures, but you will need to customize a patch from a vinyl roll if you have a more unique tear.
Choosing the Right Candidate

Depending on where your pool needs patchwork, you may want to get the most fit member of the family to do the work, as the process may sometimes involve some time spent under water. Most patching methods need to be held down or smoothed out to improve adherence, which may be a difficult task for people who struggle to remain under water for a few minutes.
Act Fast

As soon as you notice a pool leak has formed, it should be a call to action. The immense pressure caused by gallons of water pushing against a small hole is a ticking time bomb just waiting to cause further damage. This is why you should patch your vinyl liner as quickly as possible to avoid the hole becoming unmanageable.
How to Use a Vinyl Pool Patch Kit
An easy and readily available tear solution is a vinyl patch kit. These pool patch kits usually include patches of vinyl fabric that need to be placed over the tear from the inside, as well as glue that is able to adhere under water.
The product you buy will have to be suitable for the size of your tear, as some products like the 3″ Rounds Heavy Duty Blue Vinyl Patch Kit come with pre-sized pool patches and others like the Swimline Vinyl Pool Liner Patch Kit come with roles of vinyl that you can cut to your needed size.
The precut patches have the benefit of being less likely to lift from the edges due to their shape, whereas you will have to manually ensure there are no corners that will be prone to lifting on your custom pool patch.
Step 1 – Find the Leak

There are a few ways to find even the tiniest holes in your pool liners. If your leak is on the side of your pool, you can simply wipe some paper towel over the liner until you find the area that wets the towel.
If the hole is in the bottom of your pool, you can dive down and squirt a colored liquid such as water with food dye along the liner. Once you notice a disturbance in the dye pattern as it gets sucked out through the leak, you will have the location of your puncture.
Step 2 – Clean the Area
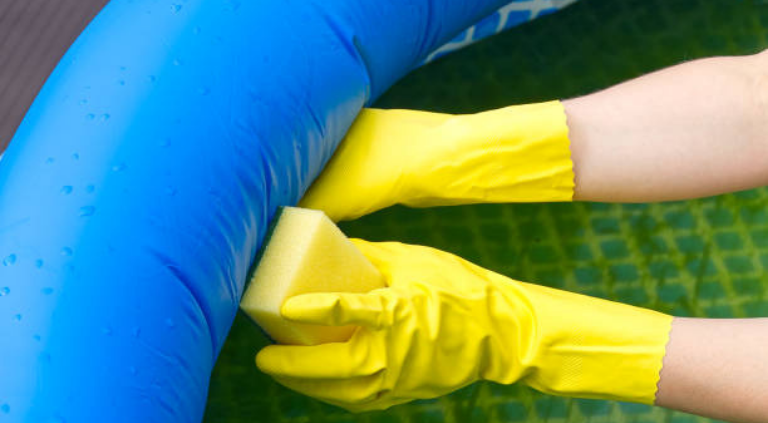
In order for the adhesive to adhere to the area, it is important for the liner to be free of algae or pool rubble like sand and stones.
Step 3 – Prepare the Patch

Cut out a piece of vinyl in a circular shape and use the adhesive applicator to add a layer of glue to the patch, making sure to reach all edges.
Before bringing the patch into contact with water, fold the patch onto itself to protect the adhesive layer.
Step 4 – Place the Patch
Once you reach the leak from the inside of your pool, unfold the fabric and immediately apply the patch, minimizing contact between the pool water and the adhesive.
Step 5 – Smooth Out the Patch

Without shifting the patch, rub over it to remove any air bubbles and create a smooth surface. You could benefit from placing a heavy object on the area but this is not possible for all tears.
Step 6 – Avoid the Pool
Pool patches should be left to cure for at least 24 hours before you swim or cause any other water disturbances.
Conclusion
Unfortunately, there are a lot of factors that pose a threat to your above ground pools such as animals, winter storage or sunlight exposure.
This does not have to be a cause for concern though, as there is a simple, at-home solution to ensure your pool is still in good shape for years to come.
Draining your pool in the event of a pool leak should be your absolute last resort and is rarely ever necessary when using the steps provided above.