

But before we jump into the steps, let’s look at what exactly causes liner slips.
What Causes Pool Liner Slips?
Weather
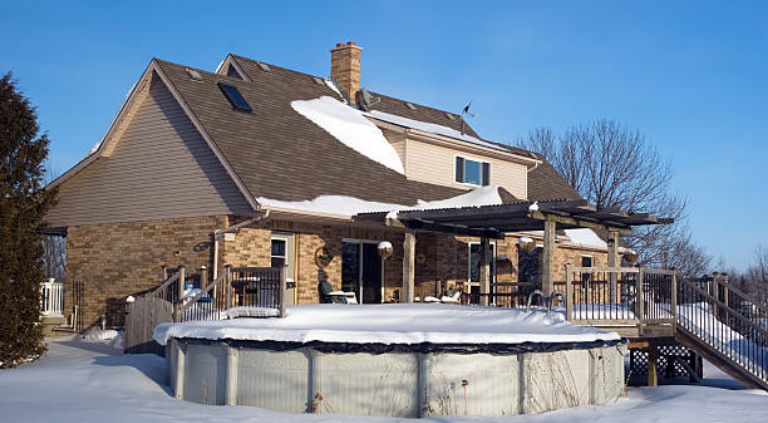
A drop in temperature can cause pool liners to shrink and start slipping, especially if your swimming pool is not fully filled yet during the weather shift.
This is why you should try to fill your pool during consistent weather to make sure that the liner doesn’t shrink as you’re adding gallons of water to the bottom of it, which will naturally weigh it down and tug at the edges.
Liner Age

Older liners tend to lose elasticity with age, leading to material that can no longer keep up with weather and water changes.
This may lead to your liner slipping and not being able to reach the top of your swimming pool wall again.
Alternatively, if your liner uses any kind of clipping mechanism such as a snap bead or v-bead liner, the plastic that snaps into the coping track may weaken with age, leading to a poor connection between the wall and liner.
In the case of an old pool liner causing slipping, it may be time for a new liner.
Puncture or Leak
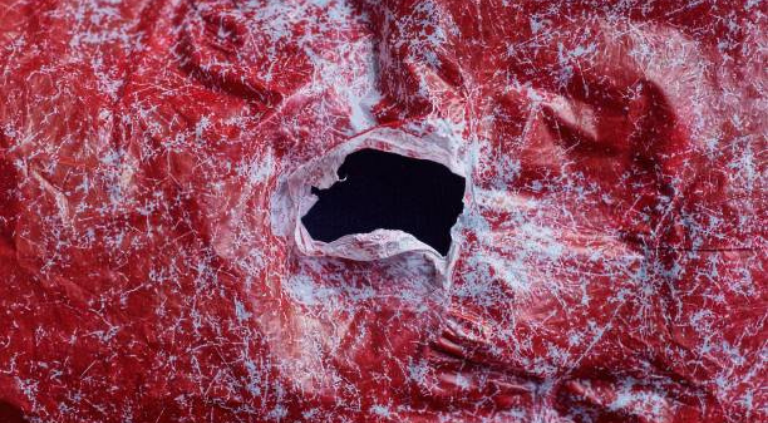
If you have a leak in your vinyl liner, the water may start to accumulate between the liner and wall. This disturbance in your pool structure may cause the liner to slip.
While this is certainly a hassle, it can be easily solved by patching your liner and following the steps below.
Fixing a Slipped Pool Liner
Step 1 – Drain the Pool
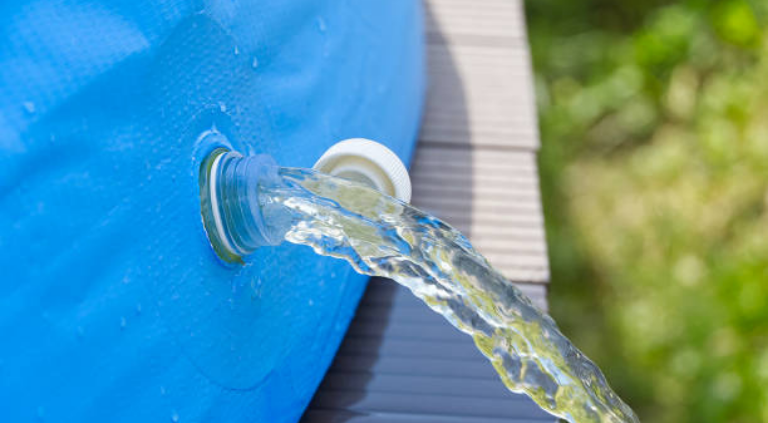
In order for the swimming pool liner to be readjusted, it is crucial for the water to be lowered. This decreases the weight enough for the liner to be able to shift a few inches towards the edge of the wall.
You can choose to completely drain the pool or to leave about a foot of water remaining to keep the liner in place.
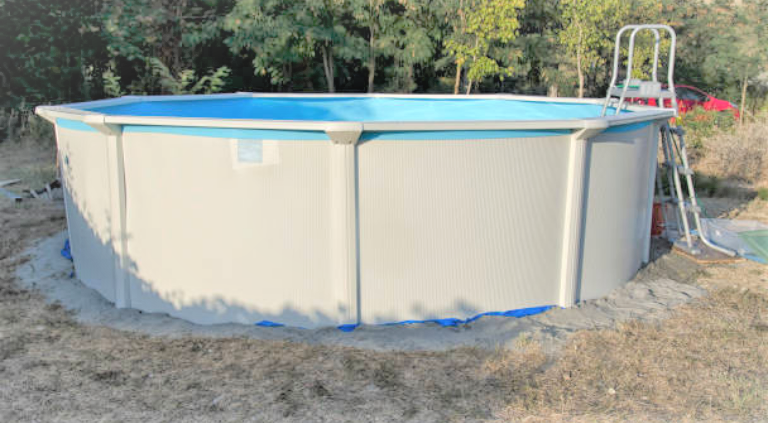
Step 2 – Remove the Top-Rails And Caps of The Affected Area
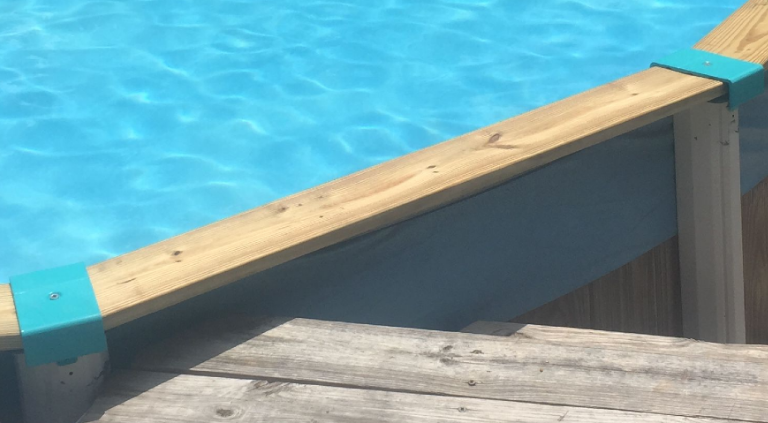
The top-rail is the tube that covers the area where the liner connects to the wall. If your vinyl pool liner is only slipping in one area, you can just remove one portion of the top-rail for repairs.
In cases where the majority of your liner is slipping though, it may be best to just remove all the caps and top-rails and perform the securing procedure all over.
Step 3 – Prepare the Liner
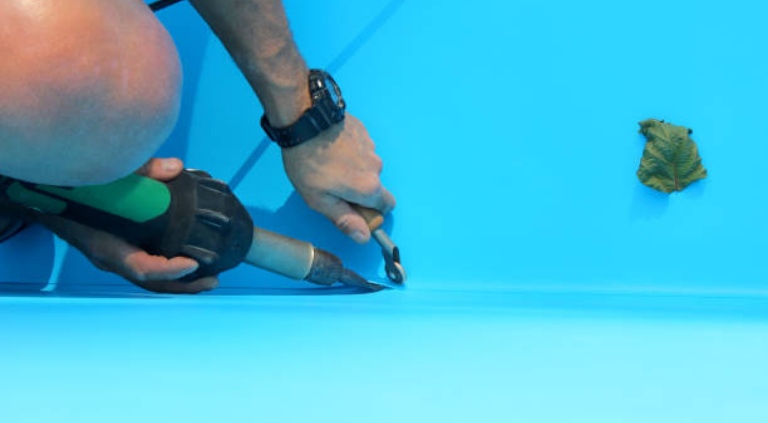
You will find that it’s not as simple as just pulling the liner over the edge of the wall. In order for your liner to reach the wall, you will need to heat it up so you can make use of heat expansion. You can pour boiling water over the area you are adjusting or use a heat gun or hair dryer on that section of the vinyl.
Some liners, like any type of beaded liner, will only need to reach the top of the pool wall to snap back into the track. This type of liner can then simply be secured with a liner lock.
Overlap liners, however, need to reach a couple of inches over the wall. Make sure that your overlap liner isn’t placed so far over the wall that it would poke out of the top-rails.
There really is no easy way to stretch out a stubborn liner, so unfortunately this step will require patience and labor.
Step 4 – Secure the Liner With Tape On the Outside Of the Pool Wall
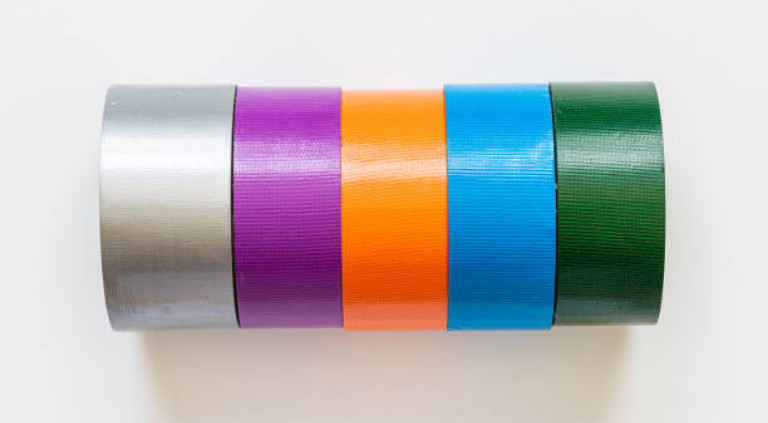
Once your liner is in your desired position, use strong tape to secure it in place by connecting the liner to the wall.
This isn’t the only securing method, but it’s a good back-up and helps to keep the liner in place when performing the next step.
Step 5 – Snap On Pool Coping Strips

Coping strips are fairly easy to come by and specially made to secure your liner in place beneath your top-rails.
This process should be easy as you just have to snap the coping strip over the area where the liner folds over the wall.
Step 6 – Tape the Strips For Extra Security
This might seem excessive, but we’re sure that this is not a process you ever want to have to repeat again. Using the same strong duct tape as before, secure the coping strip to liner on the edge of the wall.
This ensures that while your liner is secured to the wall, your coping rack is also secured to your liner.
Step 7 – Put the Top-Rails And Caps Back
Once the previous steps are complete, you officially have a secure liner that is sure to hold up regardless of the conditions.
All that’s left to do is to snap the top-rails and caps back into place to hide the area of repair and your pool is ready for use again.
Conclusion
A slipping liner is a big inconvenience, but it doesn’t have to be a cause for panic.
Following the steps above will ensure a secure pool liner at a low cost without the need to get the pool company professionals involved.
We hope that this article helps you keep your pool in good shape for many summers to come.